The Best Fluffy Pancakes recipe you will fall in love with. Full of tips and tricks to help you make the best pancakes.
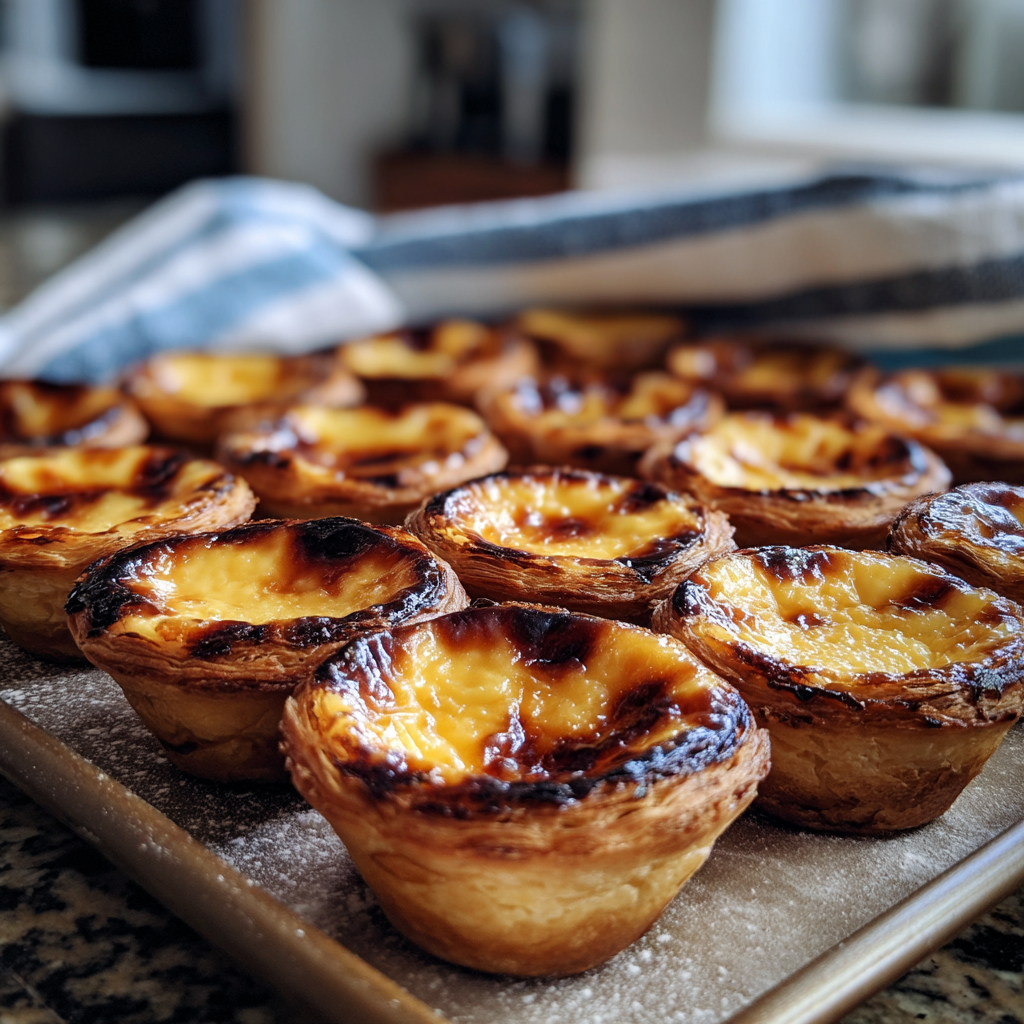
Few desserts strike the perfect balance between crisp pastry and silky filling quite like Pastéis de Nata. These iconic Portuguese custard tarts are famous for their flaky, buttery crust and rich, creamy center topped with beautifully caramelized spots. Whether you’ve tasted them fresh from a Lisbon bakery or are discovering them for the first time, this homemade version will bring that authentic experience straight to your kitchen.
In this comprehensive guide, you’ll learn everything you need to know about making the perfect Pastéis de Nata—from choosing the right ingredients to mastering that signature blistered top. With a bit of patience and attention to detail, you’ll be rewarded with bakery-quality tarts that are crisp on the outside and luxuriously smooth inside.
What Are Pastéis de Nata?
Pastéis de Nata are traditional Portuguese custard tarts made from laminated pastry filled with a sweet egg custard. They are baked at a very high temperature, which creates their signature caramelized top and slightly charred spots. Unlike other custard desserts, these tarts have a unique contrast of textures—crunchy pastry shells paired with a creamy, melt-in-your-mouth filling.
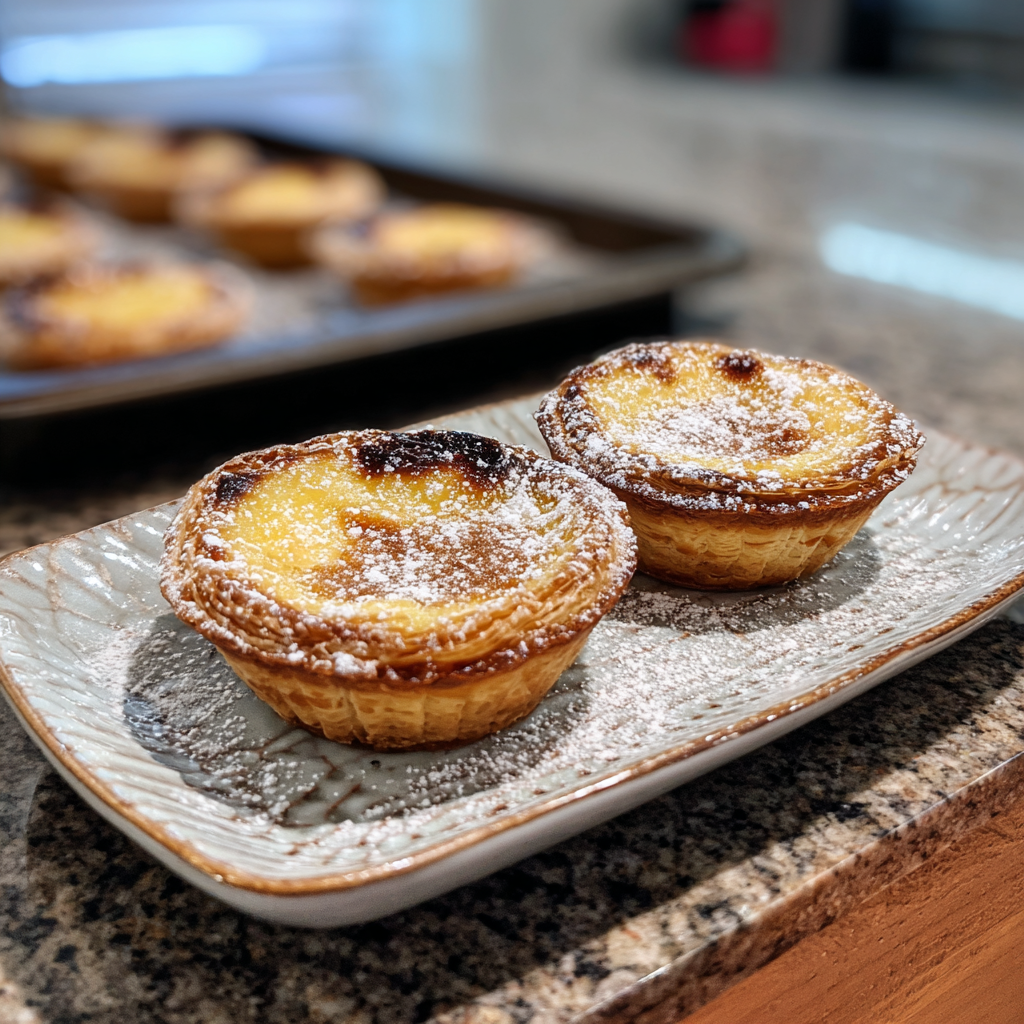
They are often enjoyed warm, dusted with cinnamon or powdered sugar, and paired with coffee.
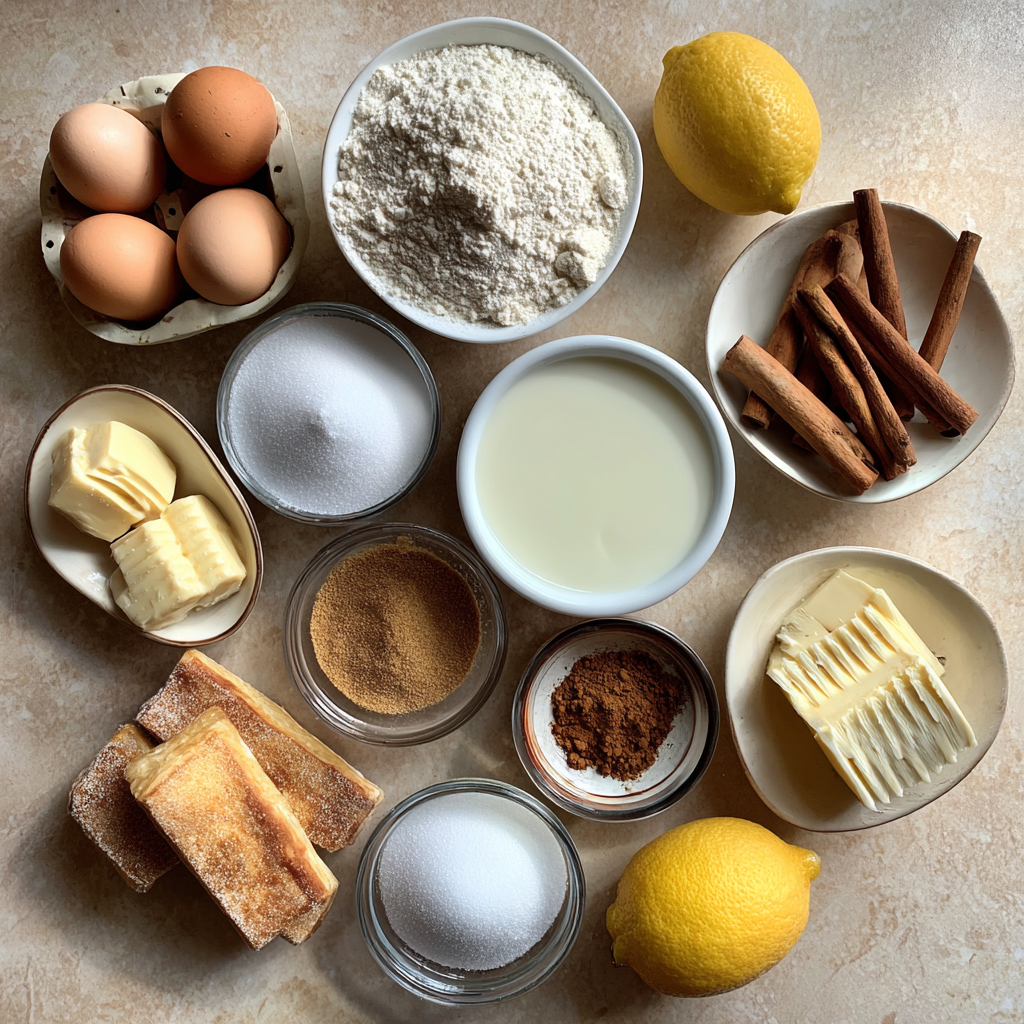
Ingredients
For the Pastry:
- 2 sheets puff pastry (thawed if frozen)
- Butter (for greasing the molds)
For the Custard Filling:
- 1 cup whole milk
- 1/2 cup heavy cream
- 3/4 cup granulated sugar
- 1/4 cup water
- 4 egg yolks
- 2 tablespoons all-purpose flour
- 1 cinnamon stick
- 1 strip lemon peel (no white pith)
- 1 teaspoon vanilla extract
- Pinch of salt
Optional Toppings:
- Powdered sugar
- Ground cinnamon
Instructions
Step 1: Prepare the Pastry
- Preheat your oven to 250°C (480°F). A very hot oven is key for achieving the signature caramelized top.
- Roll out the puff pastry sheets into tight logs.
- Cut each log into small portions (about 2–3 cm thick).
- Place each piece into a greased muffin tin or tart mold.
- Press and stretch the dough evenly along the bottom and sides to form thin shells.
Step 2: Make the Sugar Syrup
- In a small saucepan, combine sugar and water.
- Heat gently until the sugar dissolves completely.
- Bring to a light boil for about 2–3 minutes, then remove from heat and set aside.
Step 3: Prepare the Custard Base
- In another saucepan, whisk flour with a small amount of milk to create a smooth paste.
- Gradually add the remaining milk and cream, whisking constantly.
- Add cinnamon stick, lemon peel, and salt.
- Cook over medium heat until the mixture thickens slightly.
Step 4: Combine Custard and Syrup
- Remove the cinnamon stick and lemon peel.
- Slowly pour the sugar syrup into the milk mixture, stirring continuously.
- Allow the mixture to cool slightly before adding egg yolks.
- Whisk in the egg yolks and vanilla extract until smooth.
Step 5: Fill and Bake
- Pour the custard mixture into the prepared pastry shells, filling about 3/4 full.
- Bake in the preheated oven for 15–20 minutes, or until the tops are deeply golden with caramelized spots.
- Remove from oven and let cool slightly before serving.
Tips for Perfect Pastéis de Nata
1. Use High Heat
The high baking temperature is crucial. It creates the iconic blistered top and ensures the pastry crisps properly.
2. Don’t Overfill
Filling the tarts too much can cause overflow and uneven baking.
3. Chill the Dough Slightly
If the pastry becomes too soft while shaping, refrigerate it briefly for better handling.
4. Achieve the Signature Look
Those dark caramelized spots aren’t burnt—they’re part of what makes these tarts authentic.
Variations to Try
Chocolate Custard Tarts
Add melted dark chocolate to the custard for a richer flavor.
Citrus Twist
Experiment with orange zest instead of lemon for a brighter taste.
Mini Bite-Sized Version
Use smaller molds to create bite-sized tarts perfect for parties.
Serving Suggestions
Pastéis de Nata are best enjoyed warm, shortly after baking. Serve them with:
- A dusting of cinnamon or powdered sugar
- Fresh berries on the side
- A cup of espresso or strong coffee
They also make a delightful addition to brunch spreads or dessert platters.
Storage and Reheating
Storage:
Store leftover tarts in an airtight container in the refrigerator for up to 3 days.
Reheating:
Reheat in a hot oven (200°C / 390°F) for about 5–7 minutes to restore crispness. Avoid microwaving, as it softens the pastry.
Cultural Insight
Pastéis de Nata originated in Portugal and are deeply rooted in the country’s culinary tradition. They were first created by monks who used egg yolks leftover from starching clothes. Over time, this humble dessert became a global favorite, loved for its simple ingredients and irresistible flavor.
Why You’ll Love This Recipe
- Easy to make with store-bought puff pastry
- Authentic flavor with simple ingredients
- Perfect balance of crispy and creamy textures
- Impressive yet approachable dessert
Final Thoughts
Making Pastéis de Nata at home is a rewarding experience that brings a taste of Portugal into your kitchen. With their flaky crust, silky custard, and caramelized tops, these tarts are guaranteed to impress anyone who tries them.
Once you master this recipe, you’ll find yourself coming back to it again and again—not just for special occasions, but whenever you crave something truly indulgent.
Pastéis de Nata
Crispy Portuguese custard tarts with a creamy caramelized center.
Ingredients
Equipment
Method
- Preheat oven and prepare pastry shells.
- Make sugar syrup and custard base.
- Fill shells and bake until caramelized.
Notes
Bake at very high heat for authentic caramelized tops.