The Best Fluffy Pancakes recipe you will fall in love with. Full of tips and tricks to help you make the best pancakes.
Introduction
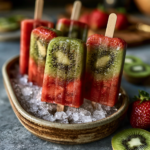
There’s something magical about biting into mochi ice cream for the very first time. The soft, pillowy chew of the mochi gives way to an icy, creamy center that melts instantly on your tongue. It’s playful, refreshing, and deeply satisfying all at once. Japanese Mochi Ice Cream Bliss takes that experience and turns it into a homemade treat that feels surprisingly achievable in your own kitchen.
Unlike many frozen desserts that rely on heavy baking or complicated equipment, mochi ice cream combines a few pantry staples with your favorite ice cream flavors to create something unforgettable. The contrast between the stretchy rice dough and silky frozen filling is what makes this dessert so addictive. Every bite offers texture, flavor, and just enough sweetness to keep you reaching for another piece.
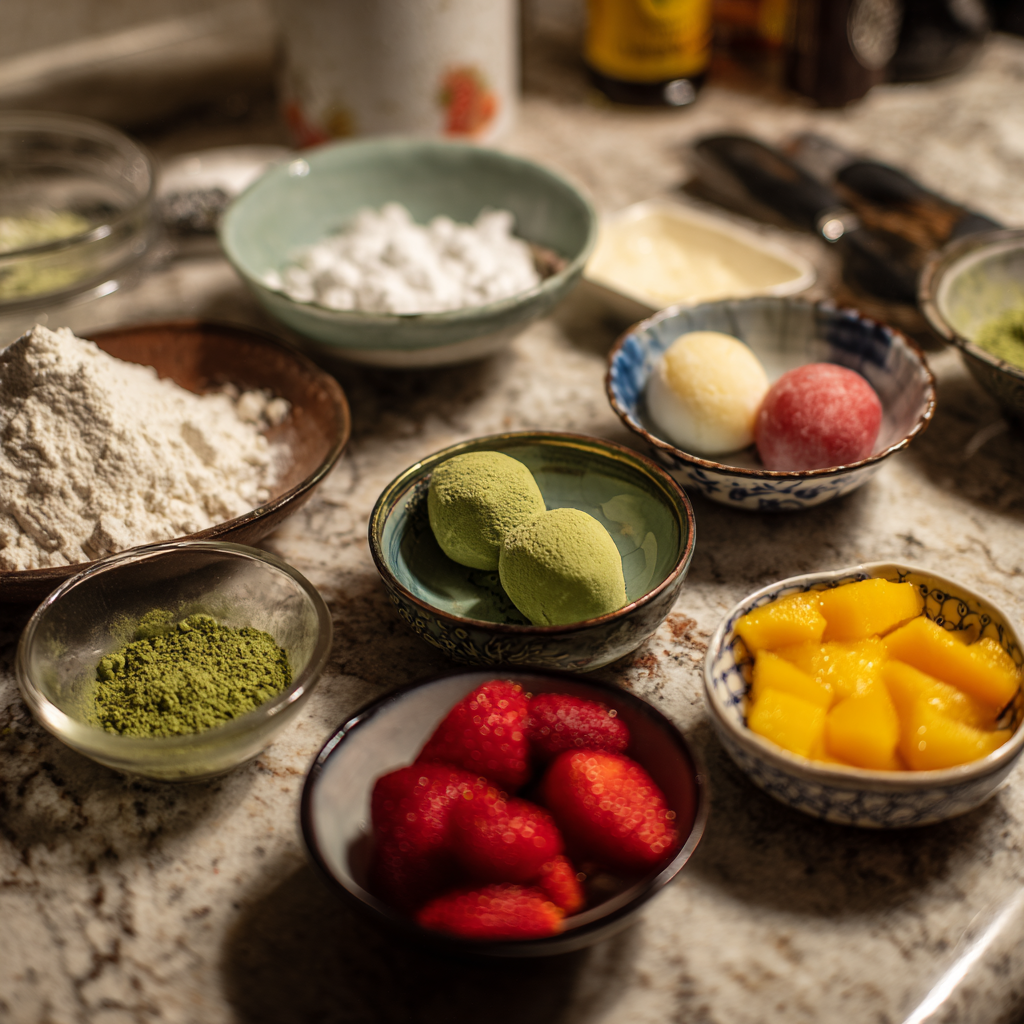
Making homemade mochi ice cream also allows you to customize every detail. Love fruity flavors? Fill them with mango or strawberry ice cream. Prefer something rich and earthy? Matcha and black sesame are incredible options. Once you master the basic technique, the flavor combinations become endless.
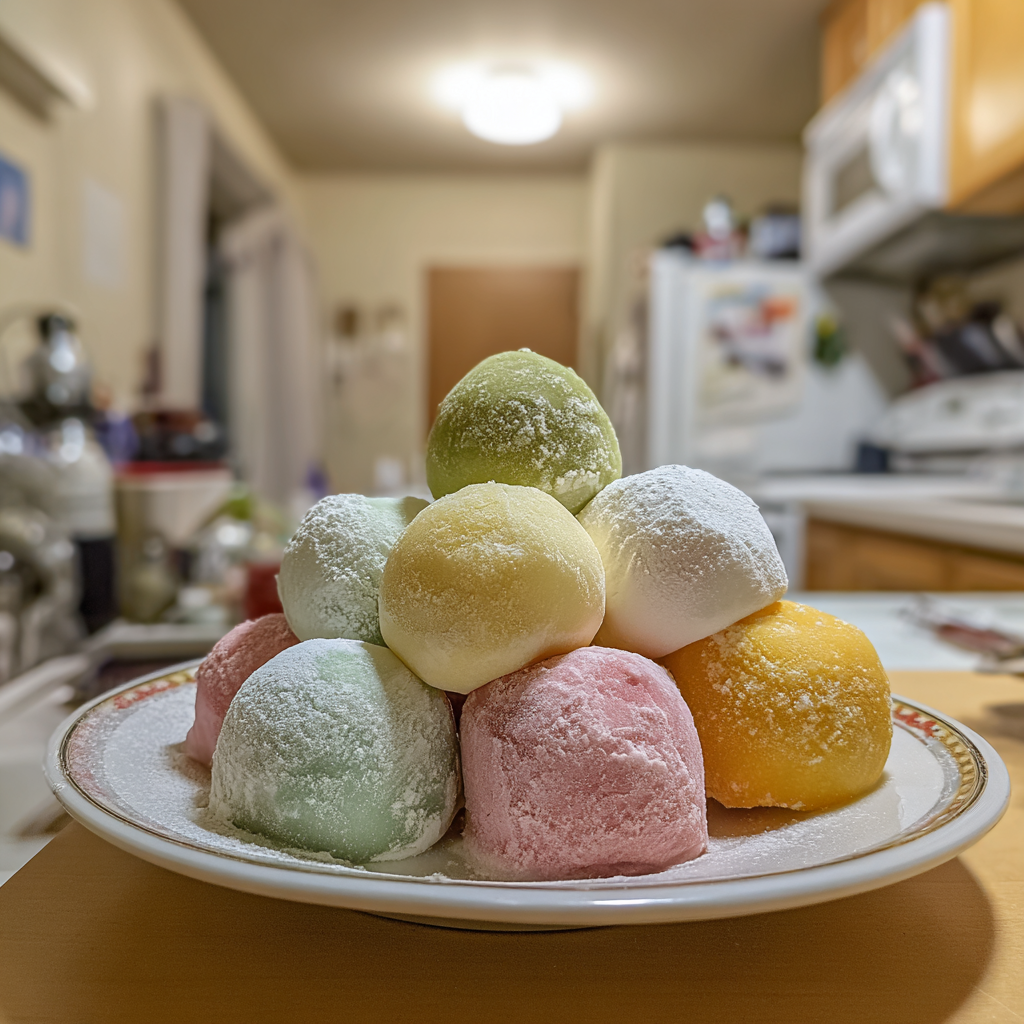
Whether you’re preparing these for a dinner party, summer gathering, or cozy movie night at home, these colorful little desserts instantly impress people. They look elegant and unique, but they’re secretly fun and simple to make.
Why You’ll Love This Recipe
- Soft, chewy mochi paired with creamy frozen ice cream
- Surprisingly easy to make at home
- Customizable with endless flavor combinations
- Naturally gluten-free when using sweet rice flour
- Beautiful pastel colors make them Pinterest-worthy
- Perfect make-ahead frozen dessert
- Fun recipe for family cooking nights
- Better texture and flavor than many store-bought versions
- Refreshing dessert for warm weather
- A unique Japanese-inspired sweet treat
Ingredients
For the Mochi Dough
- 1 cup sweet rice flour (mochiko flour)
- 1/4 cup granulated sugar
- 3/4 cup water
- 1 tablespoon vegetable oil
- Cornstarch or potato starch, for dusting
For the Filling
- 1 pint ice cream of choice (matcha, strawberry, vanilla, mango, chocolate, or cookies & cream work beautifully)
Optional Flavor Additions
- 1 teaspoon matcha powder for green tea mochi
- A few drops of pink food coloring for strawberry mochi
- Cocoa powder for chocolate mochi
- Toasted black sesame powder for nutty flavor
Instructions
1. Scoop and Freeze the Ice Cream
Line a tray or plate with parchment paper. Using an ice cream scoop, portion out small round scoops of ice cream. Place the scoops onto the tray and freeze for at least 1–2 hours until completely firm.
This step is important because soft ice cream melts quickly when wrapped in warm mochi dough.
2. Prepare the Mochi Dough
In a microwave-safe bowl, whisk together the sweet rice flour, sugar, and water until smooth with no lumps remaining.
Cover the bowl loosely with plastic wrap and microwave for 1 minute. Stir carefully using a spatula. Microwave again for another minute, stir, then microwave for 30 seconds more until the dough becomes thick, glossy, and sticky.
Add vegetable oil and mix thoroughly.
3. Dust and Roll the Dough
Generously dust a clean surface with cornstarch. Transfer the warm mochi dough onto the surface and sprinkle more starch on top.
Allow it to cool slightly for a few minutes so it’s easier to handle.
Roll the dough into a thin sheet about 1/4 inch thick. Try to keep the thickness even so every mochi has the perfect chewy texture.
4. Cut the Mochi Circles
Using a round cutter or drinking glass, cut circles large enough to wrap around the ice cream scoops.
Place each mochi circle onto parchment paper and chill briefly in the refrigerator for 10 minutes.
5. Wrap the Ice Cream
Work with one ice cream scoop at a time to prevent melting.
Place a frozen scoop in the center of a mochi circle. Gently stretch and pinch the edges together underneath to seal completely.
Wrap each finished mochi ball in plastic wrap to help maintain its round shape.
6. Freeze Until Firm
Place the wrapped mochi ice cream balls back into the freezer for at least 2 hours before serving.
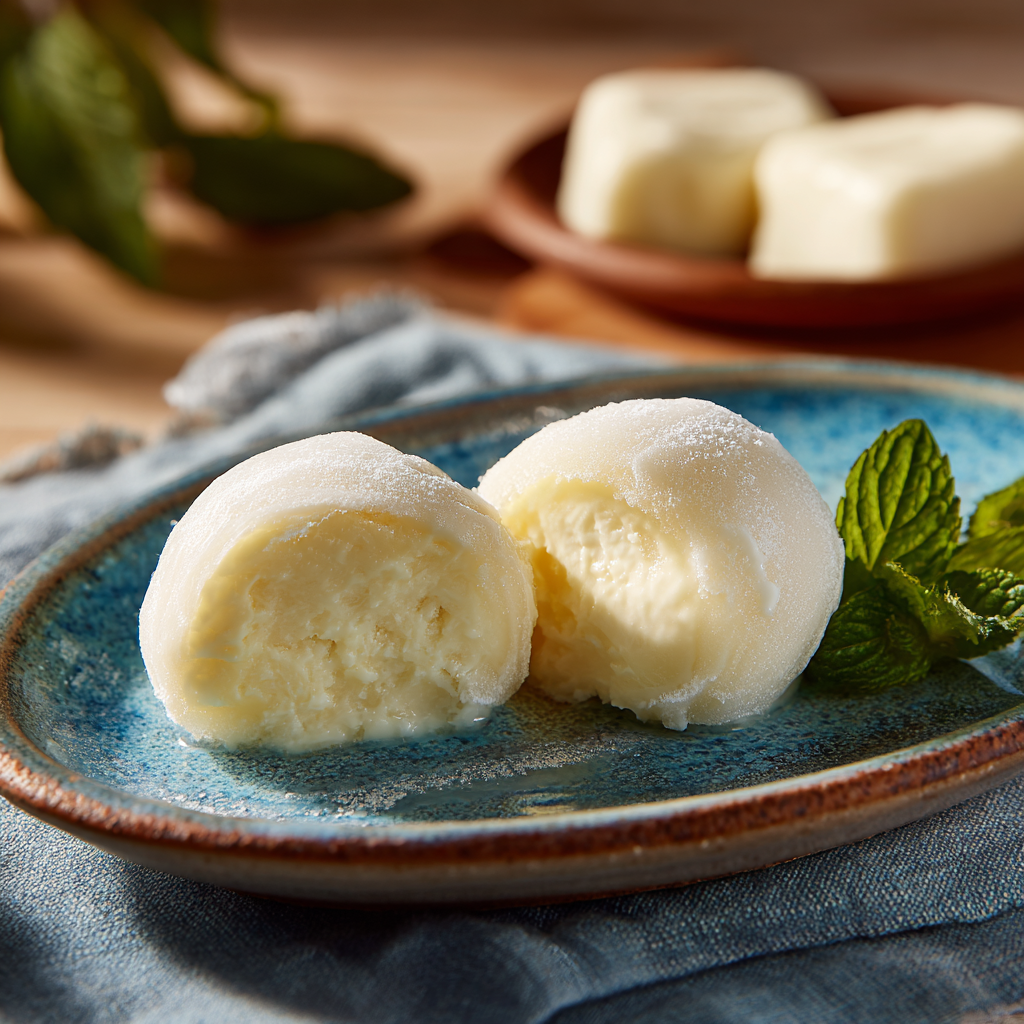
Let them sit at room temperature for 2–3 minutes before eating for the ideal soft and chewy texture.
Pro Tips
Use Plenty of Cornstarch
Mochi dough is extremely sticky. Don’t be shy with the cornstarch while rolling and shaping.
Freeze Everything Thoroughly
Warm hands and soft ice cream are the biggest challenges. Keep your ice cream deeply frozen and work quickly.
Chill the Dough Slightly
Hot mochi dough tears easily. Cooling it briefly makes wrapping much smoother.
Don’t Overfill
Smaller scoops are easier to seal and create the perfect mochi-to-ice-cream ratio.
Wet Hands Help
If the dough sticks to your fingers while wrapping, lightly dampen your hands with cold water.
Variations
Matcha Mochi Ice Cream
Add matcha powder directly into the mochi dough and pair with green tea ice cream for an earthy Japanese café flavor.
Strawberry Cheesecake Mochi
Use strawberry cheesecake ice cream and add crushed freeze-dried strawberries into the dough.
Tropical Mango Mochi
Fill with mango ice cream and add a pinch of lime zest to the mochi dough for a bright tropical twist.
Chocolate Hazelnut Mochi
Wrap chocolate hazelnut gelato inside cocoa-infused mochi dough for a rich dessert version.
Serving Suggestions
Japanese Mochi Ice Cream Bliss looks beautiful served on a chilled ceramic plate with colorful garnishes.
Here are a few serving ideas:
- Sprinkle with matcha powder for an elegant café-style presentation
- Serve alongside fresh berries and mint leaves
- Pair with hot green tea or jasmine tea
- Arrange different flavors together for a dessert sampler platter
- Drizzle lightly with condensed milk or chocolate sauce
For parties, place each mochi in colorful cupcake liners for easy serving and a polished look.
Storage & Reheating
Storage
Store mochi ice cream in an airtight container in the freezer for up to 2 weeks.
Place parchment paper between layers to prevent sticking.
Best Texture Tip
Let the mochi sit at room temperature for 2–3 minutes before serving. This softens the mochi exterior slightly while keeping the ice cream frozen inside.
Avoid Refreezing Melted Mochi
If the ice cream melts completely, refreezing can create icy textures and damage the chewy consistency.
Common Mistakes to Avoid
Using Regular Rice Flour
Sweet rice flour (mochiko) is essential. Regular rice flour won’t create the signature stretchy texture.
Rolling the Dough Too Thick
Overly thick mochi becomes dense and gummy instead of soft and delicate.
Wrapping Warm Ice Cream
If your ice cream softens while assembling, refreeze it immediately before continuing.
Not Dusting Enough Starch
Without enough starch, the dough sticks to everything and becomes frustrating to work with.
Skipping the Final Freeze
Freshly wrapped mochi needs time to firm up before serving.
Cultural Context and Fun Facts
Mochi has been part of Japanese cuisine for centuries and traditionally symbolizes good fortune, celebration, and longevity. Classic mochi is made by pounding glutinous rice into a stretchy dough, often enjoyed during Japanese New Year festivities.
Mochi ice cream is a more modern invention that became globally popular in the late 20th century. It combines traditional Japanese mochi techniques with Western-style ice cream, creating a unique fusion dessert loved worldwide.
Today, mochi ice cream comes in dozens of flavors ranging from traditional matcha and red bean to modern favorites like cookies & cream, birthday cake, and espresso.
Its unique chewy texture makes it stand out from nearly every other frozen dessert.
FAQs
What is mochi made from?
Mochi is made from sweet glutinous rice flour, also called mochiko flour, mixed with water and sugar to create a chewy dough.
Can I make mochi ice cream without a microwave?
Yes. You can steam the mochi dough over simmering water for about 15–20 minutes until thick and translucent.
Why is my mochi dough too sticky?
Mochi dough naturally feels sticky, but generous cornstarch dusting makes it manageable.
Can I use dairy-free ice cream?
Absolutely. Coconut milk, oat milk, or almond milk ice cream works wonderfully.
How long does homemade mochi ice cream last?
It stays fresh in the freezer for about 2 weeks when stored properly in an airtight container.
Is mochi ice cream gluten-free?
Yes, most versions are naturally gluten-free when made with sweet rice flour and gluten-free fillings.
Final Thoughts
Japanese Mochi Ice Cream Bliss is one of those desserts that instantly feels special. The soft chewiness, creamy frozen center, and endless flavor possibilities make it unforgettable. It’s playful enough for kids, elegant enough for guests, and satisfying enough to become a permanent freezer favorite.
Once you make your first batch, you’ll realize homemade mochi ice cream isn’t just achievable — it’s genuinely fun. From colorful matcha creations to fruity tropical fillings, every batch becomes its own little frozen masterpiece.
Sakura Snow Mochi
Chewy Japanese mochi wrapped around creamy ice cream for the ultimate frozen dessert experience.
Ingredients
Equipment
Method
- Scoop small balls of ice cream onto a parchment-lined tray and freeze until firm.
- Mix sweet rice flour, sugar, and water until smooth. Microwave in intervals until thick and glossy.
- Dust a surface with cornstarch and roll out the mochi dough.
- Cut circles from the dough and chill briefly.
- Wrap each frozen ice cream scoop with mochi dough and seal underneath.
- Freeze the finished mochi ice cream balls for at least 2 hours before serving.
Notes
Work quickly while wrapping to prevent melting. Dust generously with cornstarch for easy handling.