The Best Fluffy Pancakes recipe you will fall in love with. Full of tips and tricks to help you make the best pancakes.
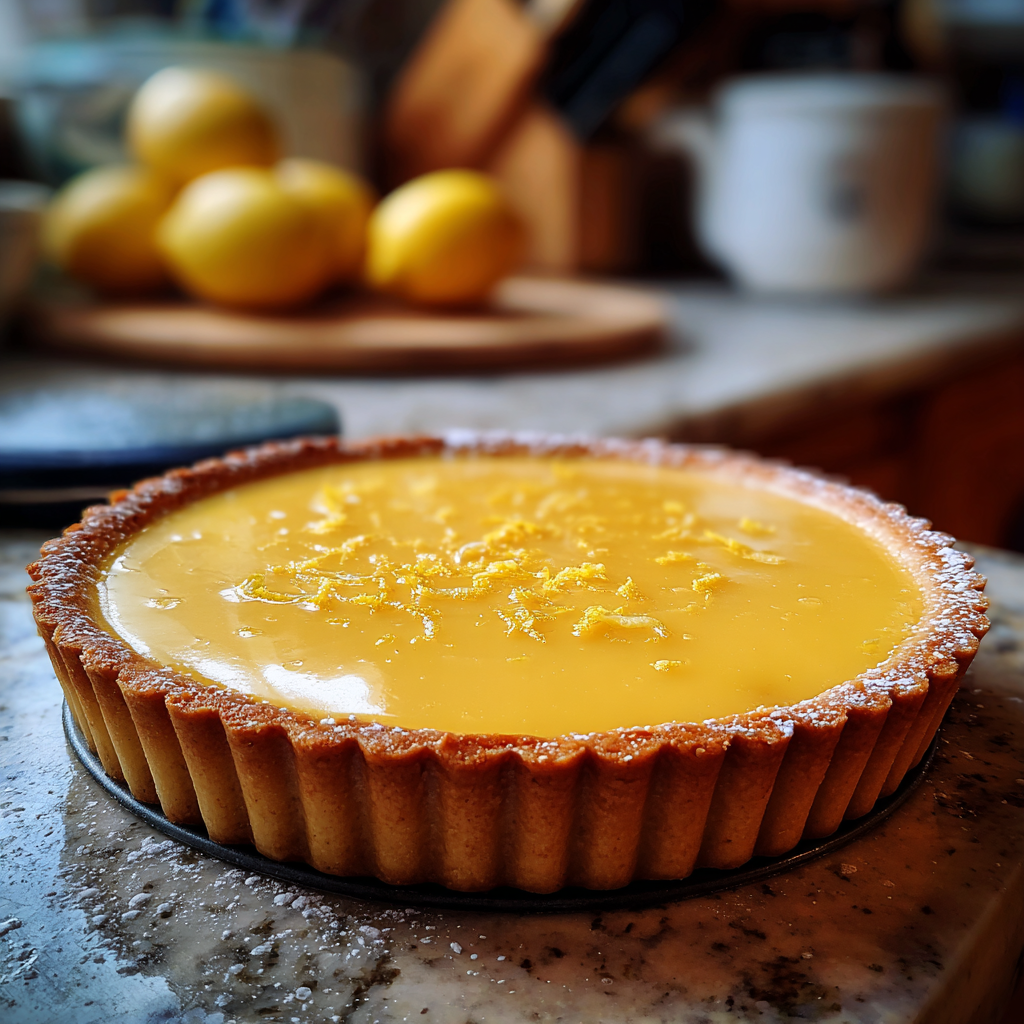
There’s something undeniably irresistible about a lemon tart. With its crisp, buttery crust and silky smooth, tangy filling, this classic dessert strikes the perfect balance between sweet and citrusy. Whether you’re preparing it for a family gathering, a dinner party, or simply indulging your sweet tooth, a homemade lemon tart never fails to impress.
This lemon tart recipe is designed to be approachable yet refined. You don’t need professional baking skills to achieve a bakery-quality result. With a few simple ingredients and careful steps, you’ll create a dessert that looks stunning and tastes even better.
Why You’ll Love This Lemon Tart Recipe
This homemade lemon tart stands out for several reasons:
- Perfect Texture: A crisp, buttery shell paired with a velvety lemon filling.
- Balanced Flavor: Just the right amount of tanginess without being overpowering.
- Simple Ingredients: Made with pantry staples and fresh lemons.
- Versatile Dessert: Suitable for both casual meals and elegant occasions.
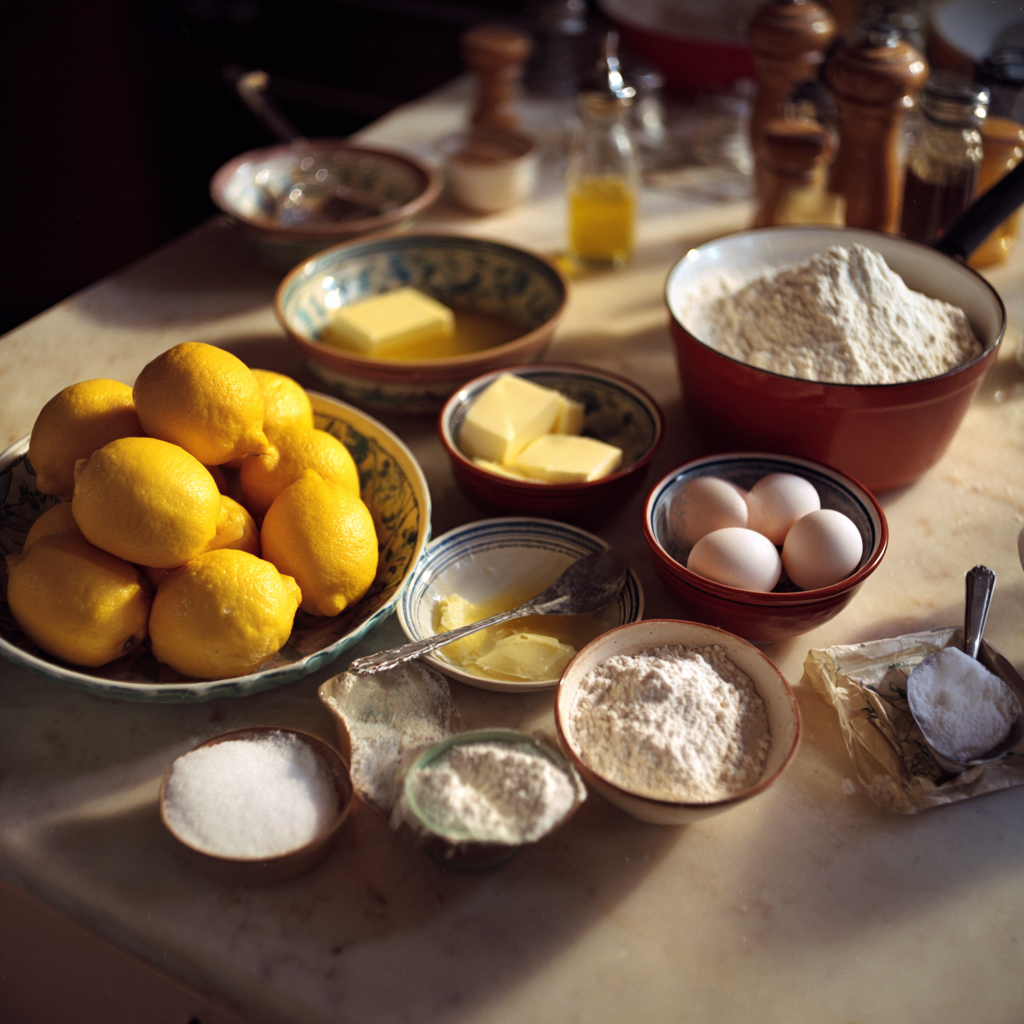
Ingredients
For the Tart Crust (Shortcrust Pastry):
- 1 ¼ cups all-purpose flour
- ½ cup unsalted butter (cold, cubed)
- ¼ cup powdered sugar
- 1 egg yolk
- 1–2 tablespoons cold water
- Pinch of salt
For the Lemon Filling:
- 3 large eggs
- ¾ cup granulated sugar
- ½ cup fresh lemon juice (about 3–4 lemons)
- 1 tablespoon lemon zest
- ½ cup heavy cream
- Pinch of salt
Optional Garnish:
- Powdered sugar
- Lemon slices or zest curls
- Fresh berries
Instructions
Step 1: Prepare the Tart Crust
- In a mixing bowl, combine the flour, powdered sugar, and salt.
- Add the cold butter cubes and rub them into the flour using your fingertips until the mixture resembles coarse crumbs.
- Add the egg yolk and mix gently. Gradually add cold water until the dough comes together.
- Form the dough into a disk, wrap in plastic wrap, and refrigerate for at least 30 minutes.
Step 2: Roll and Bake the Crust
- Preheat your oven to 180°C (350°F).
- Roll out the chilled dough on a lightly floured surface.
- Transfer it into a tart pan, pressing it gently into the edges. Trim any excess dough.
- Prick the base with a fork and line with parchment paper. Fill with baking weights or dried beans.
- Blind bake for 15 minutes, then remove the weights and bake for another 10 minutes until lightly golden.
Step 3: Prepare the Lemon Filling
- In a bowl, whisk together the eggs and sugar until smooth.
- Add the lemon juice, zest, heavy cream, and salt. Mix until fully combined.
Step 4: Bake the Tart
- Pour the lemon filling into the pre-baked crust.
- Bake for 20–25 minutes, or until the filling is just set but still slightly wobbly in the center.
- Remove from the oven and allow it to cool completely.
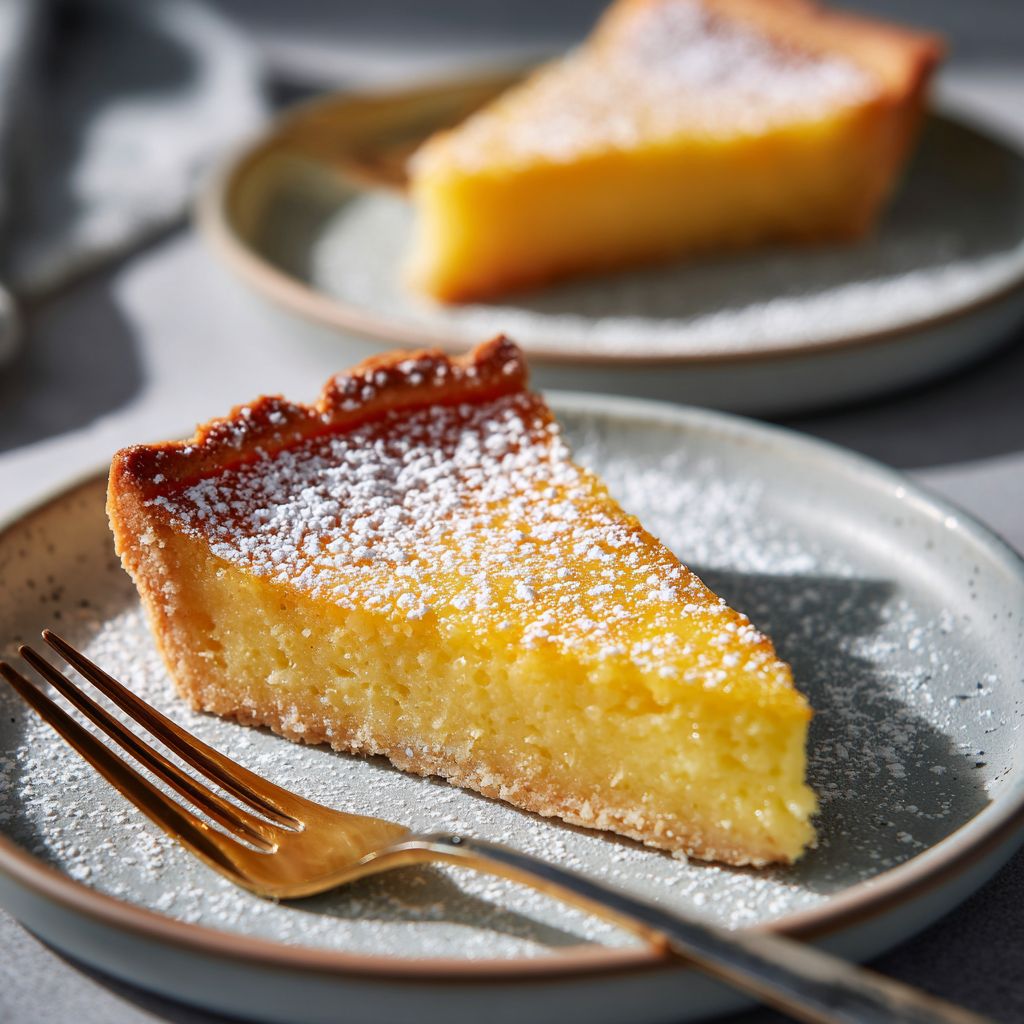
Step 5: Chill and Serve
- Refrigerate the tart for at least 2 hours before serving.
- Dust with powdered sugar or garnish as desired before slicing.
Tips for the Perfect Lemon Tart
Use Fresh Lemons:
Freshly squeezed lemon juice makes a huge difference in flavor. Avoid bottled juice for the best results.
Don’t Overbake:
The filling should still have a slight jiggle in the center when you remove it from the oven. It will firm up as it cools.
Chill Before Serving:
Refrigeration helps the filling set properly and enhances the texture.
Keep Butter Cold:
Cold butter is key to achieving a flaky, crisp tart crust.
Variations to Try
1. Lemon Meringue Tart:
Top your tart with fluffy meringue and lightly toast it for a classic twist.
2. Berry Lemon Tart:
Add fresh raspberries or blueberries on top for extra sweetness and color.
3. Gluten-Free Version:
Use a gluten-free flour blend for the crust.
4. Coconut Lemon Tart:
Add a hint of coconut milk or shredded coconut to the filling for a tropical touch.
Serving Suggestions
Lemon tart is best served chilled or at room temperature. Pair it with:
- A dollop of whipped cream
- A scoop of vanilla ice cream
- A cup of tea or coffee
Its bright, refreshing flavor makes it an excellent dessert after a rich meal.
Storage Tips
- Refrigerator: Store the tart in an airtight container for up to 3 days.
- Freezer: You can freeze the tart (without garnish) for up to 1 month. Thaw in the refrigerator before serving.
The History Behind Lemon Tart
Lemon-based desserts have been enjoyed for centuries, particularly in European cuisine. The lemon tart, as we know it today, has roots in French patisserie, where precision and balance are key. Over time, this dessert has become a global favorite, appreciated for its simplicity and elegance.
Common Mistakes to Avoid
Skipping Blind Baking:
This can result in a soggy crust. Always pre-bake the shell before adding the filling.
Overmixing the Filling:
Whisk gently to avoid incorporating too much air, which can cause cracks.
Using Too Much Lemon Juice:
Balance is key—too much acidity can overpower the dessert.
Why This Recipe Works
This lemon tart recipe is carefully balanced to deliver consistent results. The buttery crust provides a sturdy base, while the creamy filling offers a bright citrus flavor without being overly sharp. The addition of cream softens the acidity, creating a smooth and luxurious texture.
Final Thoughts
Making a lemon tart from scratch is incredibly rewarding. Not only does it taste far superior to store-bought versions, but it also allows you to control the flavors and ingredients. Whether you’re new to baking or an experienced cook, this recipe is a must-try.
Once you master this classic lemon tart, you’ll find yourself returning to it again and again—for its simplicity, elegance, and unforgettable flavor.
Lemon Tart
A classic lemon tart with a crisp buttery crust and smooth tangy filling.
Ingredients
Equipment
Method
- Prepare the tart crust by mixing flour, sugar, and butter, then chill the dough.
- Blind bake the crust until lightly golden.
- Mix filling ingredients, pour into crust, and bake until set.
Notes
Use fresh lemon juice for best flavor and avoid overbaking the filling.